Squarespace Site Styles Walkthrough
Note: This blog post contains affiliate links, however, I only recommend brands that I use and love.
We all know Squarespace is one of the best professional website builders because it is user-friendly and offers a plethora of templates to choose from. Squarespace makes starting and building a website super simple, but how do you make your website stand out from the rest? The templates offer beautiful designs for many, but you want to be able to fully customize your template to make it as unique to your brand as possible. That’s where site styles and the style editor (Squarespace 7.1 version) comes in!]
Site styles are the customizable settings you can change to display your content on your website exactly how you want it. You would change these settings using the style editor!
Global vs Local Style Changes
First, you have to understand the difference between global and local style changes. Global style changes will be applied to your whole site to help you achieve a consistent look throughout your website and local style changes are done specifically to individual pages or sections throughout your website.
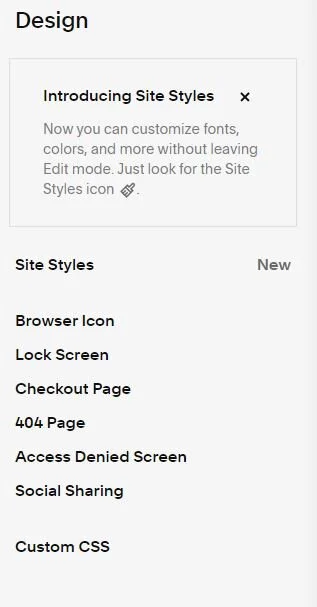
You will make global style changes with the style editor (in the Design panel) and local styles changes will happen in the on-page editor typically by clicking Edit on the specific section that you want to change.
It’s best to make global style changes first so that you can understand the overall design of your website and then make local style changes when you are working with a more specific copy or content with the pages of your website.
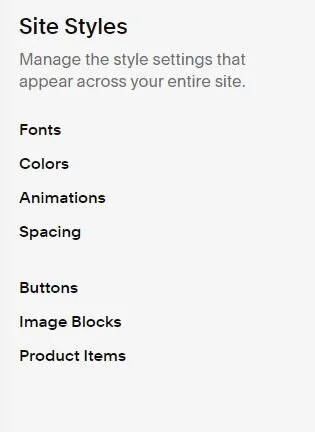
Style Editor (7.1 Squarespace)
In the Style Editor, you have the ability to make styles changes to fonts, colors, animations, spacing, buttons, image blocks, and product items. Let’s review each of these sections!
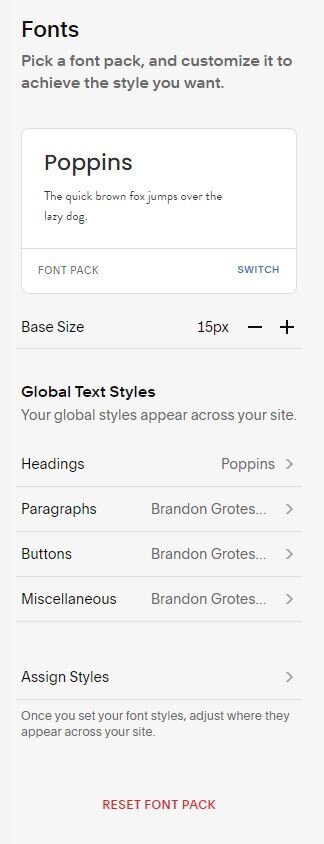
Fonts
You’re able to choose the font styles that are specific to your branding and apply the global text (font) styles to your whole website when it comes to headings, paragraphs, buttons, and other miscellaneous areas. The ability to control which font styles will appear in certain parts of your website is available as well.
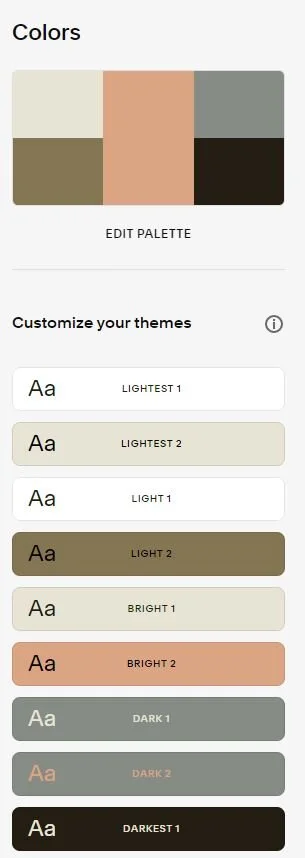
Colors
In this section, you’re able to set your brand colors and set where those colors are applied on your website. These colors will be called palette colors and you’re able to experiment and create different preset palette colors by clicking on Edit Palette. This is a great way to easily change your brand colors on your website and see which palette colors will work best for you! Through these palette colors, you can create up to 10 themes and apply these themes, or colors, to sections within your website when you are making local style changes.
Animations
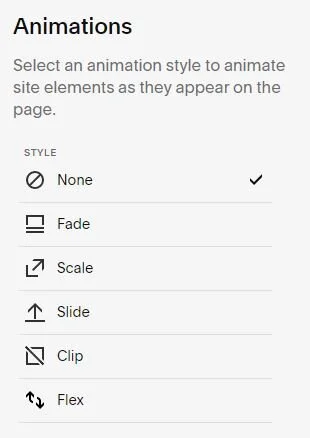
Adding animations to your website will add visual interest to your content as people browse your website. These will help people stay more engaged with your content too. Experiment and have fun with these animations!
Spacings
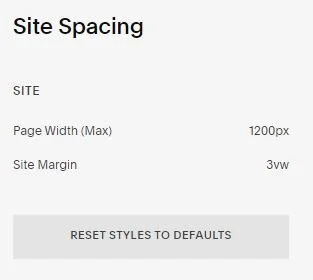
Changing the spacing will set how your content will look on your website. You’re able to change the Page Width (Max) and Site Margin.
The Page Width (Max) will set the actual width on your browser and device. This does not affect spacing on the website’s header.
The Site Margin will set the margin width on the side of your website’s pages. This will affect the whole website, which includes the header.
Buttons
Buttons may seem like a minor detail on your website, but they are so important since they are typically a way to get your audience to act on a call to action or to access certain pages of your website. The appearance of buttons on your website does matter! In this section, you can change the button style, shape, and padding.
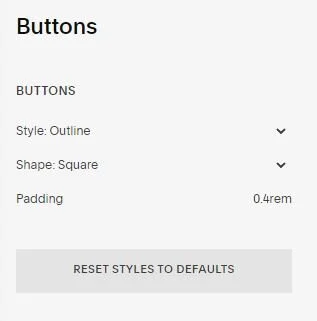
Image Blocks
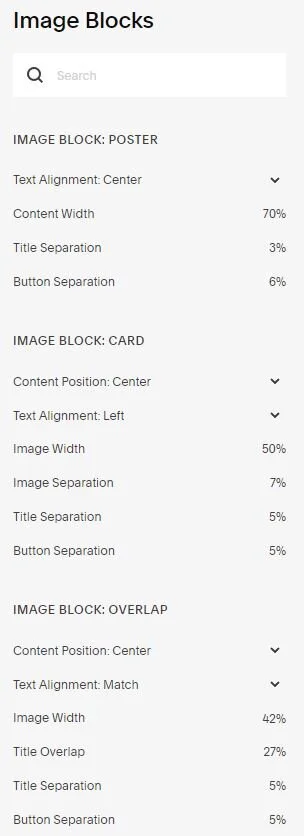
Image Blocks adds images to your content in a variety of layouts. By default, the Image Block will use an Inline layout. You’re able to add captions below or overlaying on the image. Here are the other layouts available:
Poster - Display text over images
Card - Display images with text to the left or right
Overlap - Display images on one side with text on the other, partially overlapping the image
Collage - Display images on one side and text over background "cards" on the other, offsetting and overlapping the image
Stack - Display images with text below
Product Items
This section may only be applicable to people who run an e-commerce store on their website.
You can change the settings on here to the product’s details pages. Some of these settings may only be applied to products that have multiple images and you may not see them if you have a product with only one image. This is a great section if you have multiple products in your shop and want to universally apply changes to how the product detail pages look on your website.
Through the new Site Styles, you’re able to make global style changes to your Squarespace website. This makes customizing and editing your templates even easier than before, so start experimenting with the style editor and find the options that best suit you and your site!