Exporting Logo Files
So you’ve just completed the fine tuning of your branding project. Great!
Now it’s time to package everything up in a lovely bow to send to the client.
But all the exporting options can be overwhelming. What file formats are expected to be delivered? Should I package everything? How can I set up my client with success when the project is completed? What the heck is a MACOSX file?
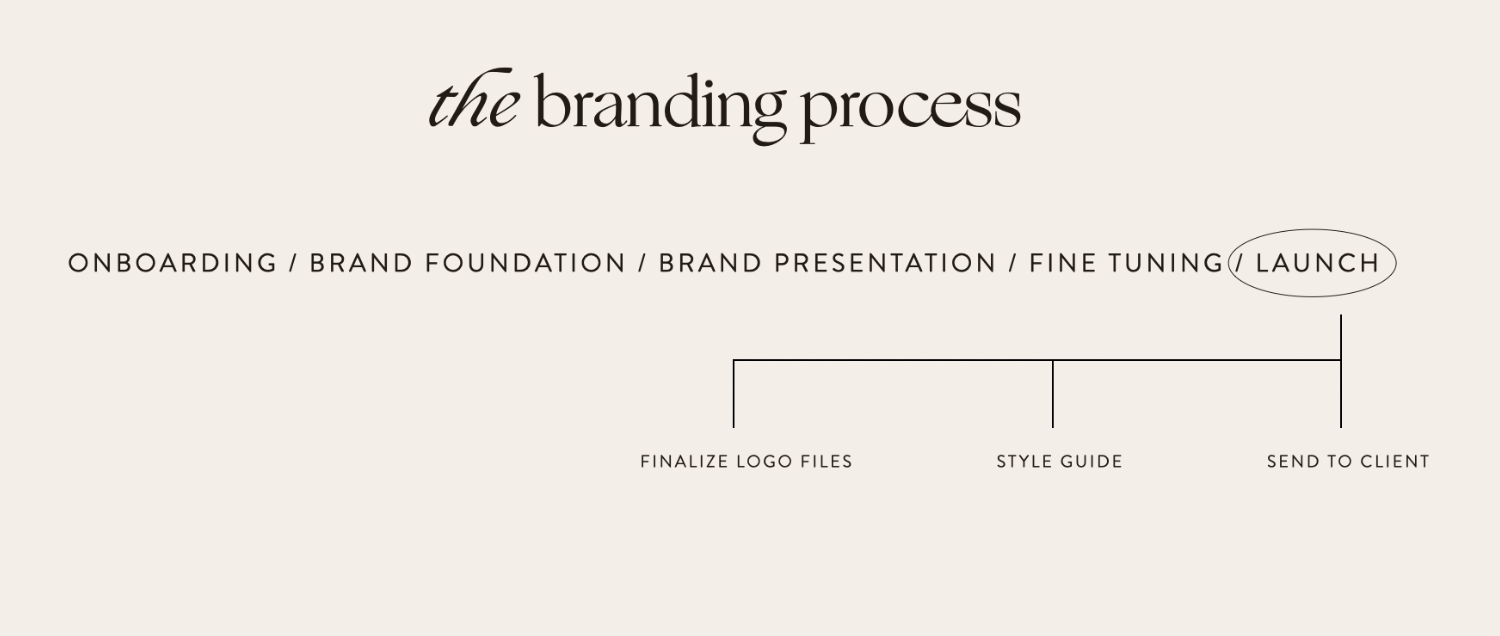
In this blog, I’ll be explaining my go-to file finalizing practices in the launch phase of the branding process.
File Organization
Keeping your files organized and tidy is really important for handing them off to the client. I always start off with a primary folder called “Logos” with two sub folders “Web” and “Print.
Inside of “Web” we have an “SVG” folder and a “PNG” folder (we’ll go over what those are later).
Inside the “Print” folder we have a “PDF” folder and an “EPS” folder.
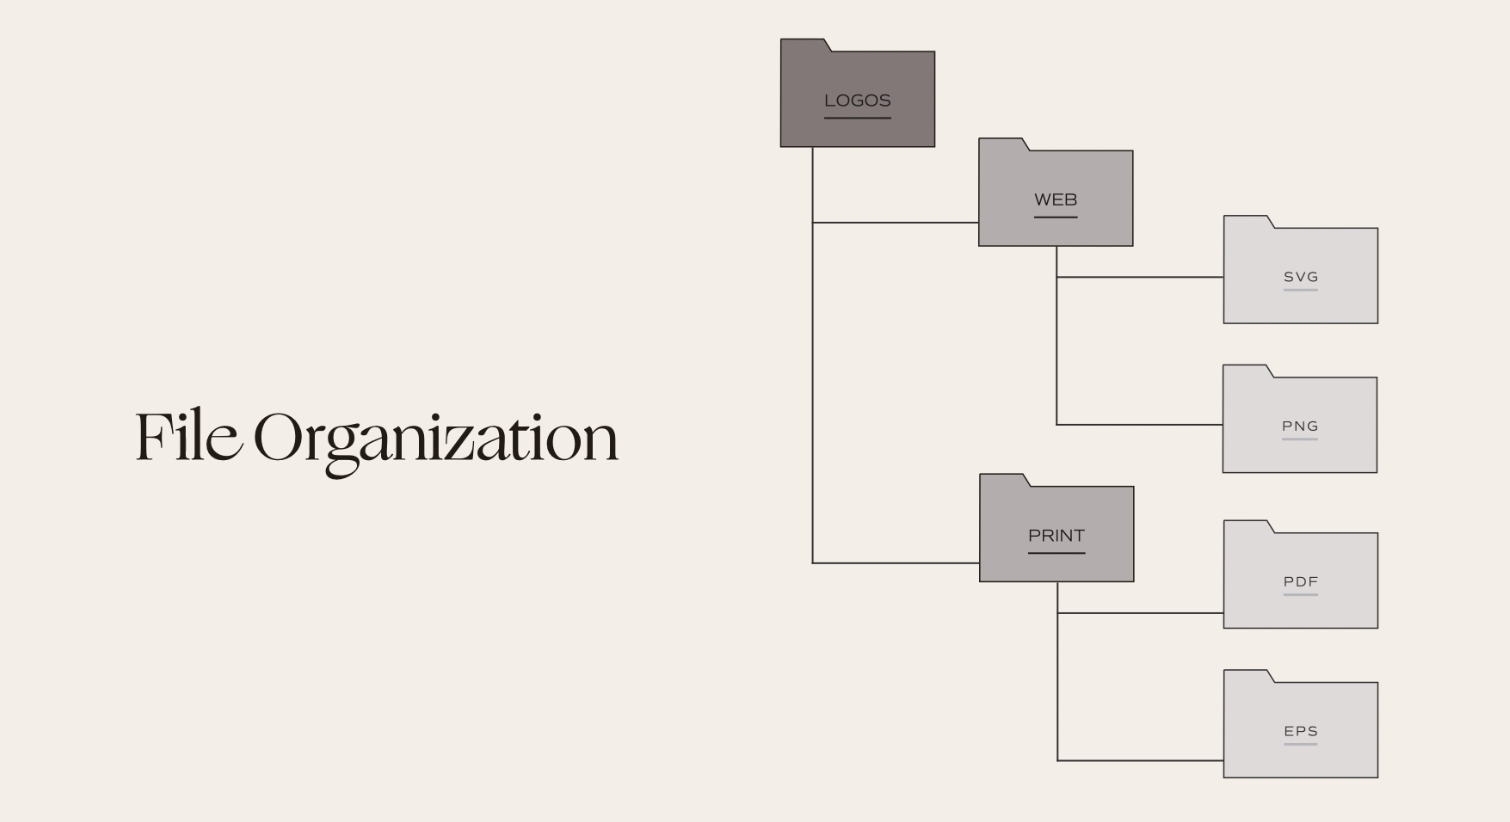
For each of these file types, I will save the logo in every brand color. In other words - if there are 5 brand colors, I will save the logo as a SVG, PNG, PDF, and EPS 5 different times for each color. So for example, if you were to look in the “SVG” folder, there would be 5 different SVG files in each brand color.
File Types
Web Files
When exporting your web files, there are a few things you want to keep in mind.
You want to make sure your color setting is set to RGB, your dpi is set to 150, and your dimensions are at least 1000 pixels on the longest side of your design. These settings will make sure that your web files are the highest quality and web-friendly.

SVG - Scalable Vector Graphic
An SVG is a vector image format for 2-dimensional graphics. It’s a high-res version for any digital medium that needs a logo. And just as the name suggests, these can be scaled to different sizes without losing quality because it’s a vector.
PNG - Portable Graphics Format
These graphics are a bit lower in resolution and are most commonly used in mediums that can’t hold a large image size - things like email or social media.
Print Files
When exporting your print files, you want the color setting to be CMYK + or Pantone. The dpi should be set to at least 300, and your dimensions should be 4 inches or 10 centimeters on the longest side of your design.
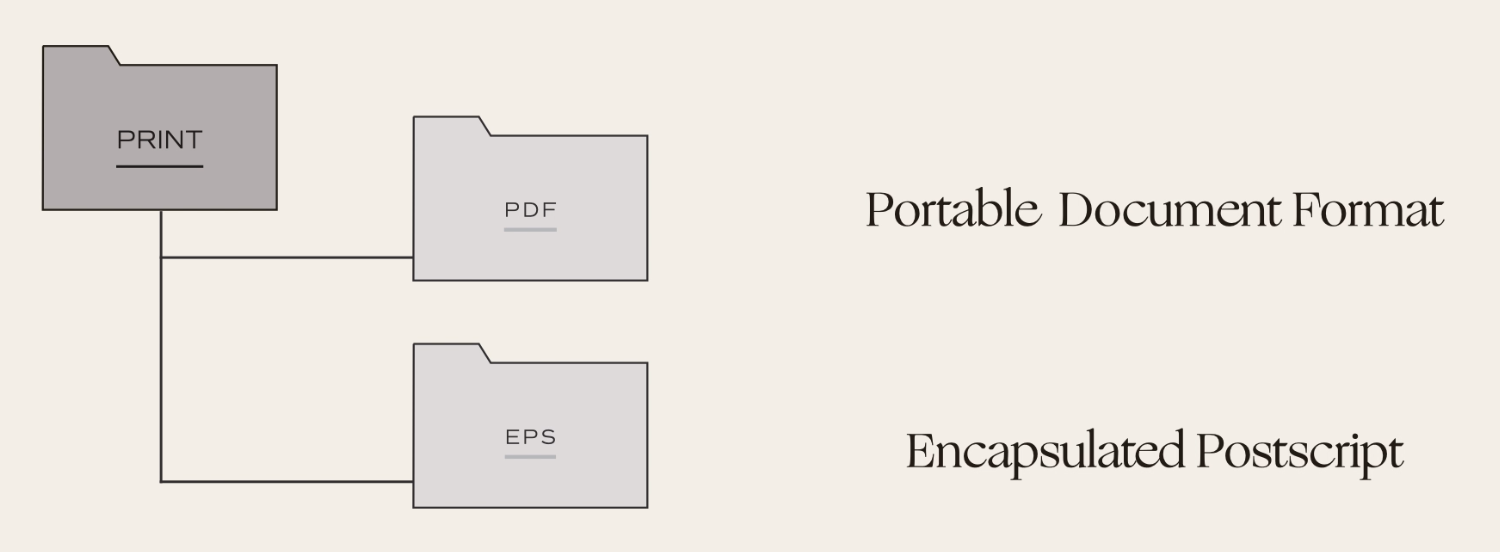
PDF - Portable Document Format
A PDF is a versatile file format created by Adobe to create an easy and reliable way to exchange documents. It’s a great way to send your logo off to printing while still retaining the color and quality.
EPS - Encapsulated Postscript
An EPS is a vector format designed for printers specifically. It is considered the best option for high-resolution printing files. You can edit EPS in software like Adobe. If you are working with any printing service or a designer, they will usually request an EPS file.
There is a plugin that can automate your logo packaging process called Logo Package Express 2.0 for Adobe. This plugin can pump out 200+ logos in every color type and format automatically for you, however, it does work best for less complex brands.
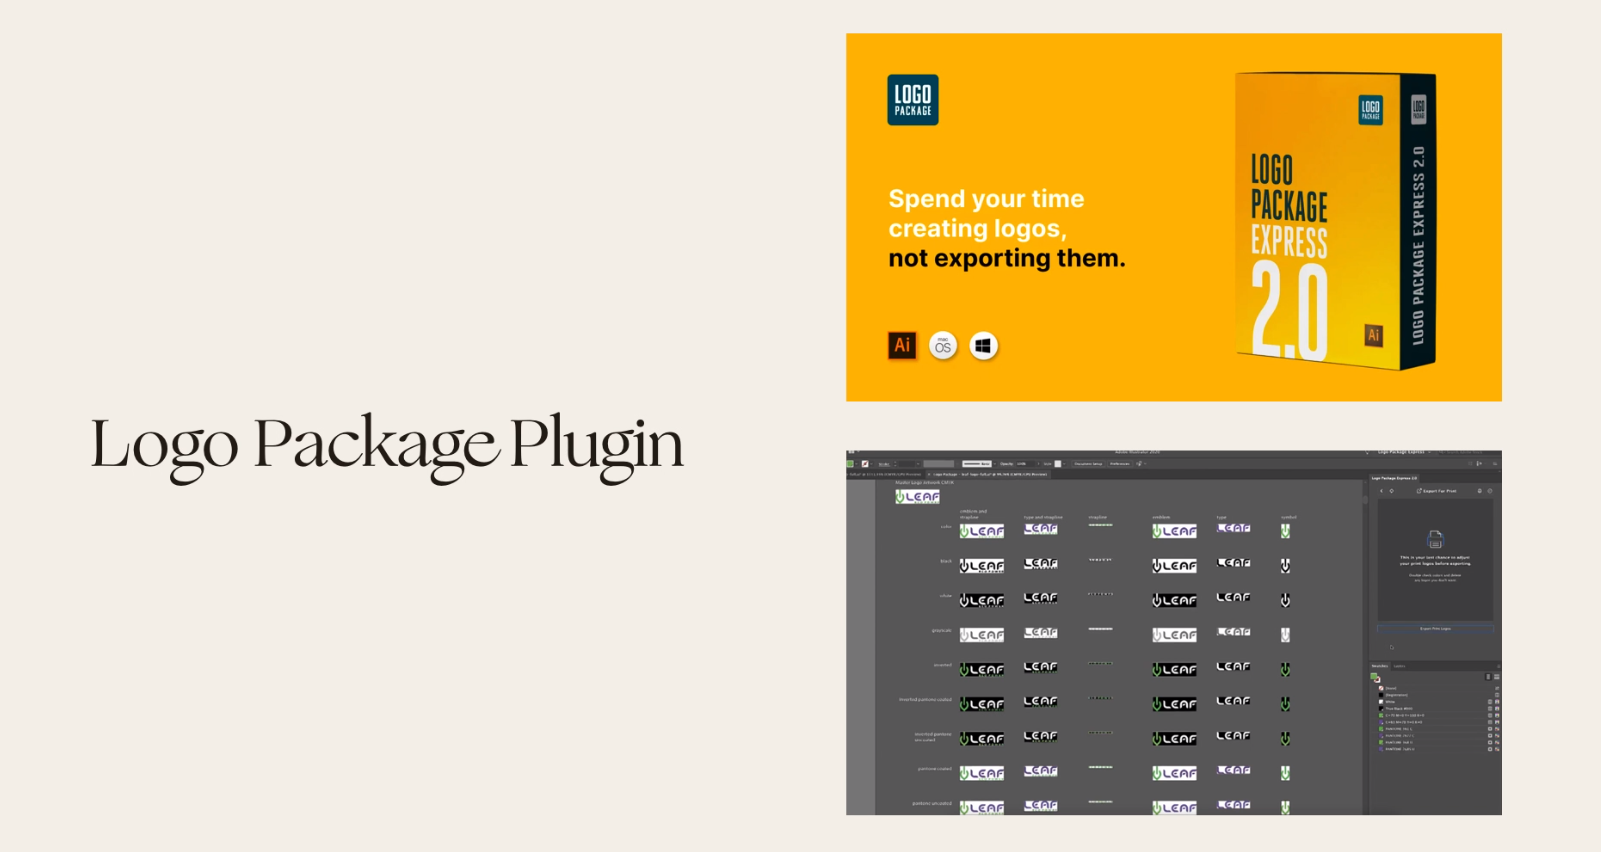
Logo Package Express 3.0 has a one-time fee of $119. I recommend this plugin to any brand designer.
If you’re interested in learning more about how to charge more for branding projects, streamline your design process, and have clients sign off with zero revisions, check out the Brand Process Savvy course! Click here to learn more!